Appearance
Getting started part 2: Edit and publish scene by Viz4D Editor
This part will show you how to use the Viz4D Editor for editing and publishing.
Step 1. Open Editor
There are two methods to open the Viz4D Editor and you can re-edit your scene at any time:
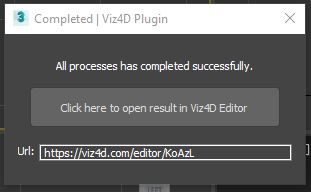
The first method is in 3dsMax:
After processes have been completed. The window below will appear:
The second method is ịn Viz4D website:
Step 2. Creating reflection
INFO
Viz4D uses reflection probe to have high performance reflection. The reflection probe captures a 360° image to used for reflection.
TIP
If your scene only has a single object, you can load 360° image to create reflection instead of using reflection probe.
Add a reflection probe
- Click the “Add new” button to create a probe.
- The blue box is the projection box of the reflection probe. The image that the reflection probe captured will be used as reflection for all objects in projection box.
- Use “Position” and “Proj. box size” to adjust the projection box until the faces of the box touch the walls, the ceiling, and the floor. If there are many rooms, then 1 box for each room.
See more details here: Reflection Probe
Step 3. Adjusting lightmap and post-processing
- Adjust the whole scene’s lightmap contrast and lightmap exposure. Then edit post-processing like highlight compress, exposure, LUT, sharpness, bloom…
- You can adjust lightmap of each object when the light of object is too bright, too dark or low contrast:
Step 4. Increasing quality level of mesh, texture, lightmap if needed
Mesh
Sometimes your mesh can occur problems like being over-optimized or having black spots or stretched UV. You need to increase the quality level of mesh. For example:
INFO
Viz4D provides up to 4 quality levels of mesh for each object (Low, Medium, High, Ultra). The number of quality levels depends on each object.
Texture / Lightmap
To get a higher resolution texture, you can increase the texture’s resolution:
Step 5. (optional) Creating hotspot, configurator, tour
Hotspot tutorial: add information and media for object.
Configurator tutorial: allow viewer to switch material while interacting.
Tour tutorial: Create guided tour
Step 6. Edit info and visibility
Step 7. Save scene
Click the “Save scene” button at the bottom right of the screen.
Congratulations! 🎉🎉 That's all you have to do to take your design from 3ds Max to the browser. Which allowing your customers to interact with your design using any device without download anything.